02/04/10 - Brake Lines for 1" Master
Stayed late at work and put a port on the top/side of my
master cylinder adapter. I also added 3 cone point set screws
at 0, 120 and 240 degrees. I also made the internal O-Ring
groove slightly deeper using our new bridgeport rotary table...
mmmm.
Then, after dinner at Moe's, I started bending up new lines for the
master cylinder. One goes to the firewall (for the rear
brakes), the other (front brakes, naturally) goes to a T fitting just
below the master cylinder. Both the lines bent up fairly
easily, though the rear brake line required a few VERY tight
radius bends that my bender couldn't accomodate. I usually
use 2 box end wrenches to make these bends. The only problem
with that is it tends to mark up the line a bit. Since it was
a fairly visible area, I simply slipped some braided loom over
the line for a cleaner look. A bunch of people
showed up: (BigE, Dale, Mike, Remi, Josh, Steve, Jack, John, Trevor)
Tightening the nuts on the lines was easy... for 3 out of the 4.
The last one, at the firewall fitting, was so incredibly
tight... Between the brake reservoir, the HUGE booster, the
clutch line and the cage I could barely get a wrench in there.
I tried a few things, includding cutting up one of my 9/16
wrenches, all to no avail. By this time it was pretty late
and everyone had gone home. Then out of the blue Andrew shows
up and we were able to tag team it and get it tightened. Next
time I'll probably just loosen up the booster nuts a little bit to gain
some clearance.
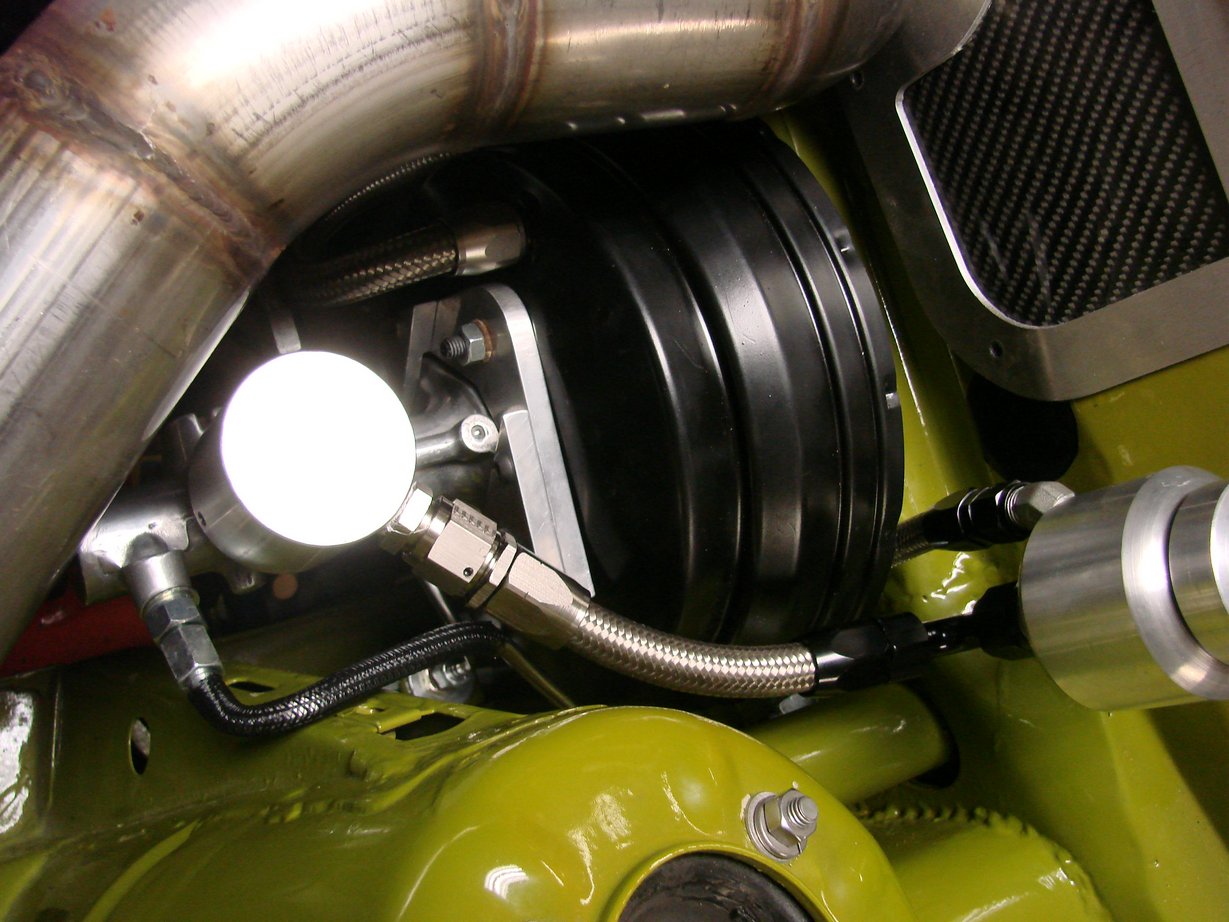
I installed the cap for the master and tightened the set screws evenly.
I made up a line to connect the reservoir to the cap as well
as installed the clutch feed line. Here are some pictures of
this setup:
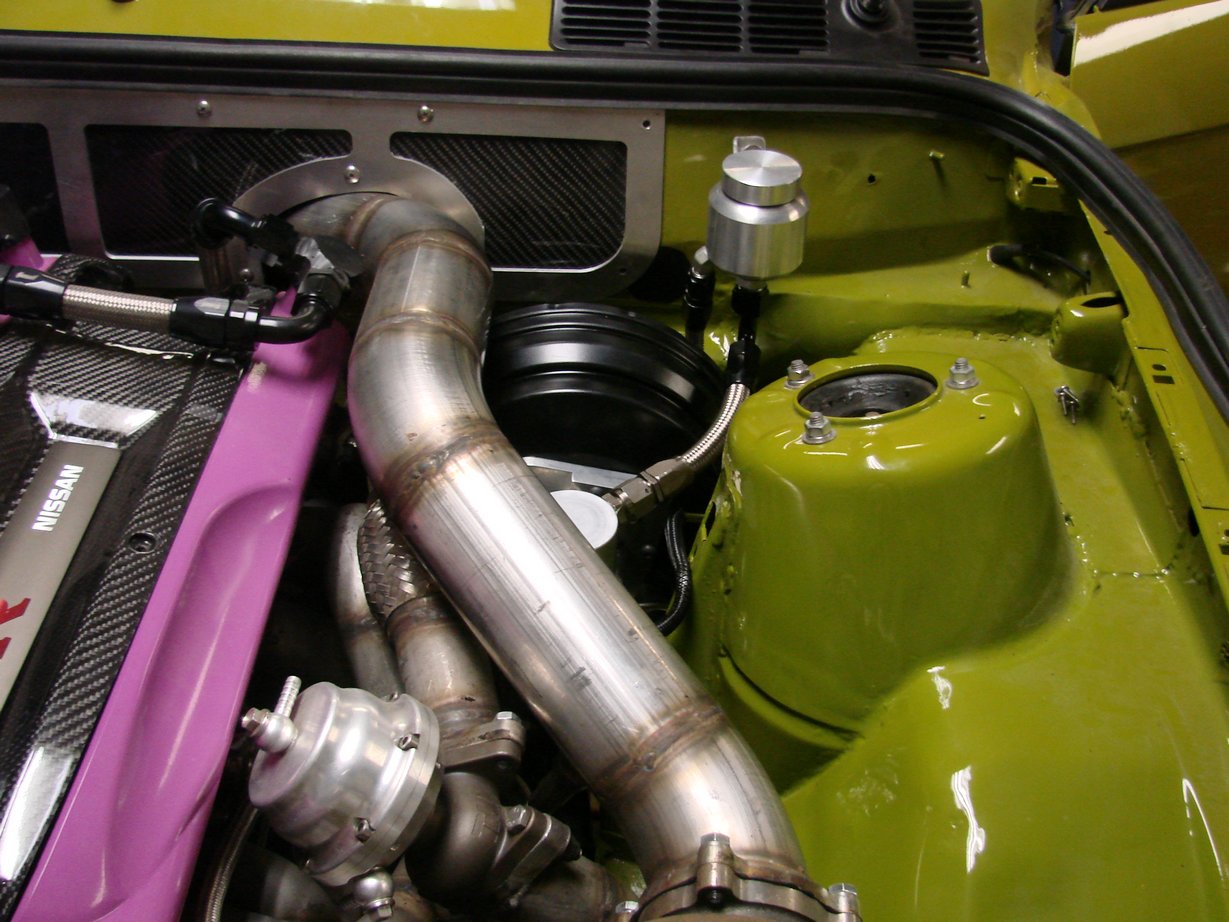

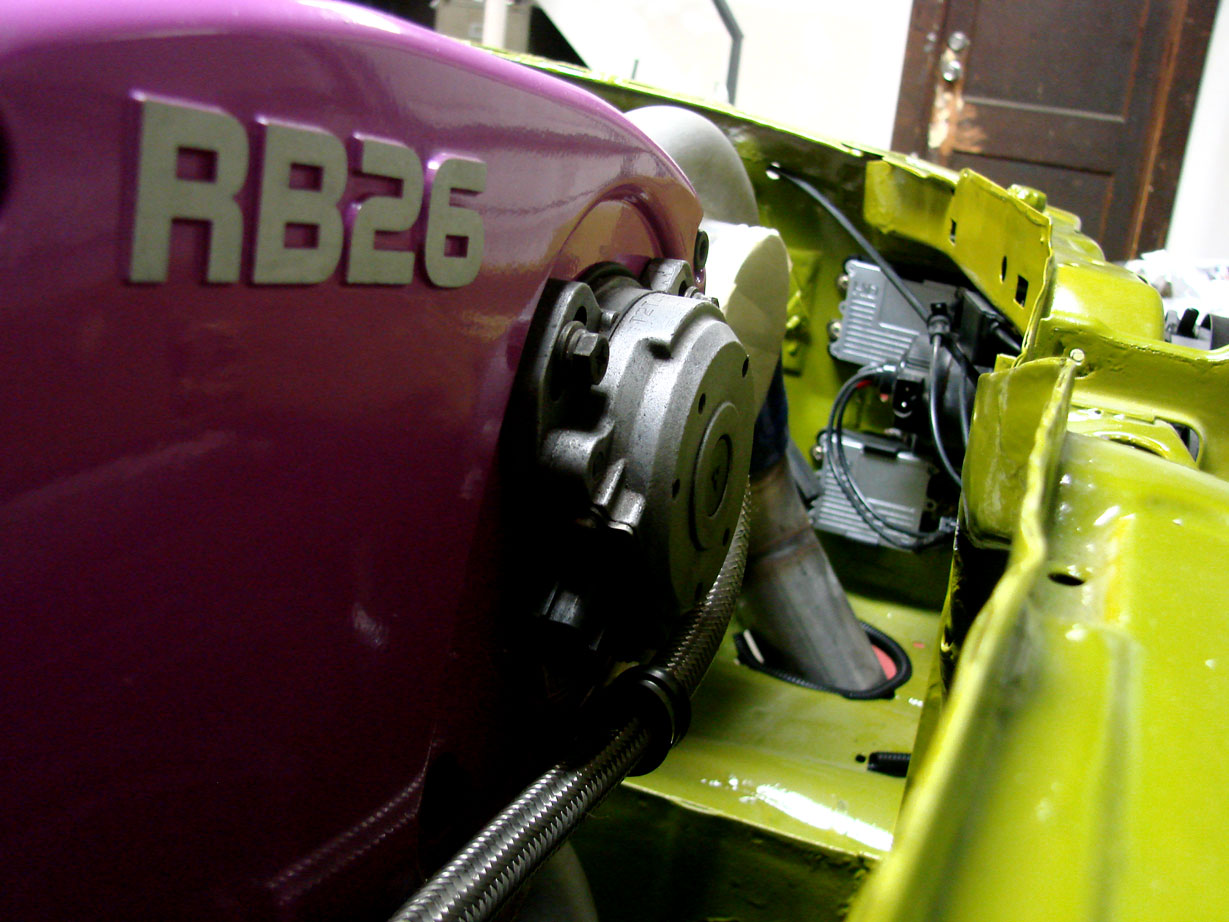
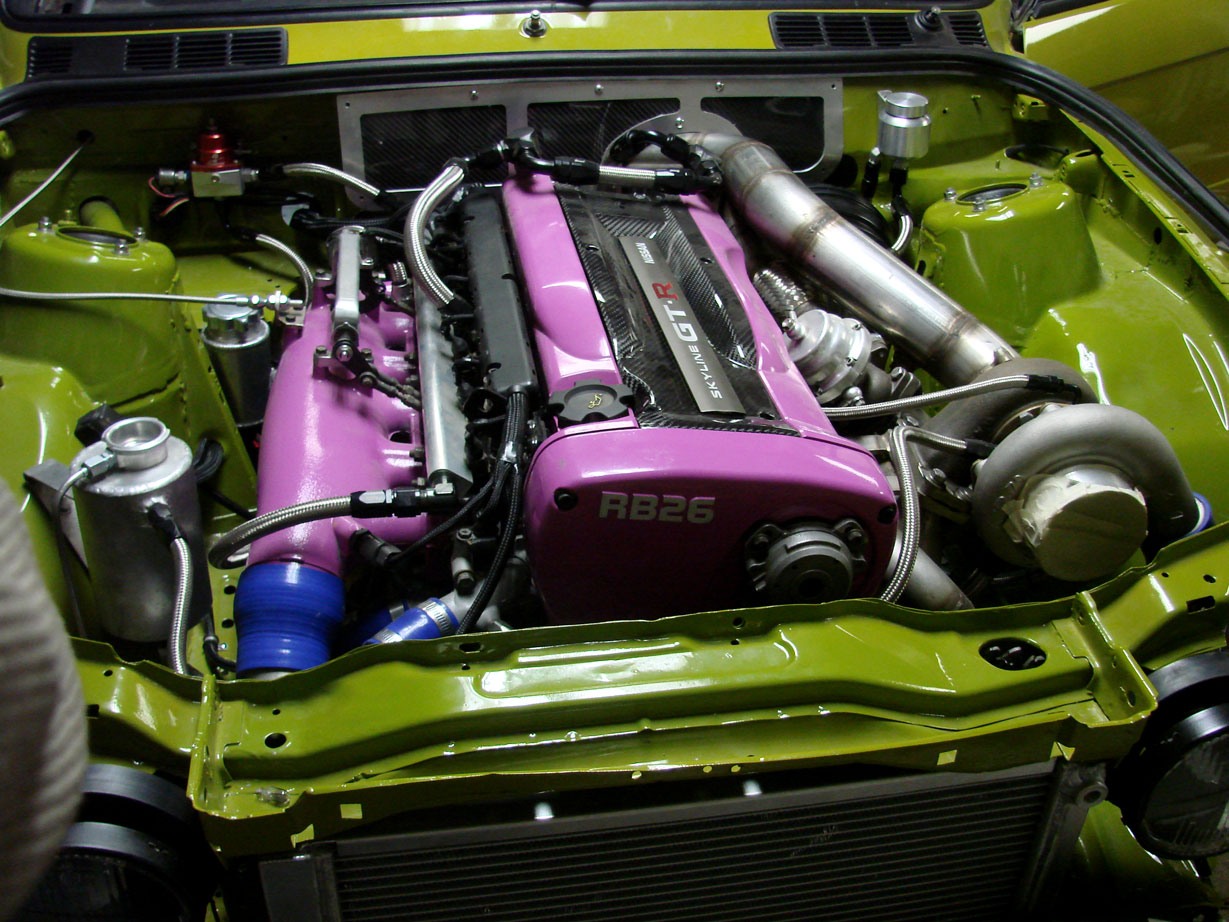
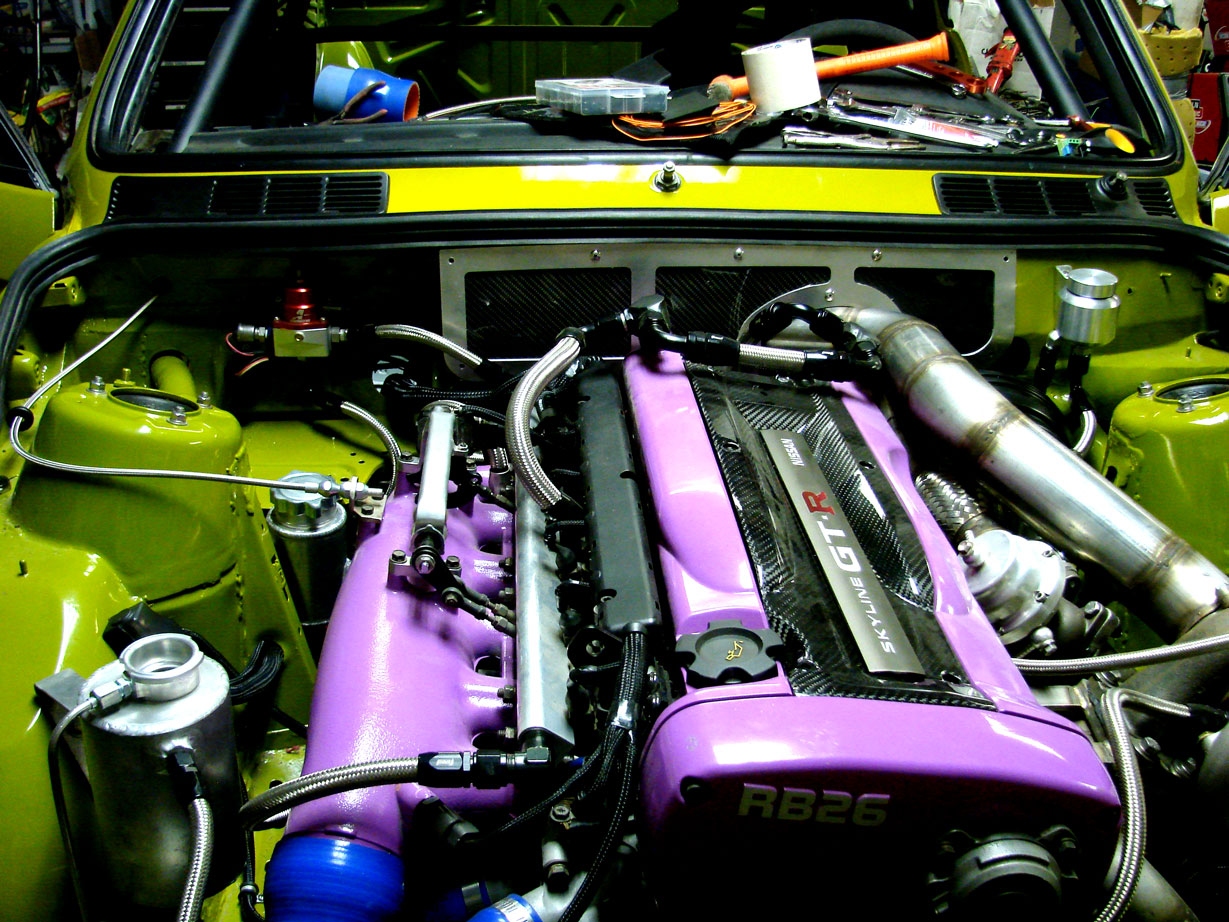
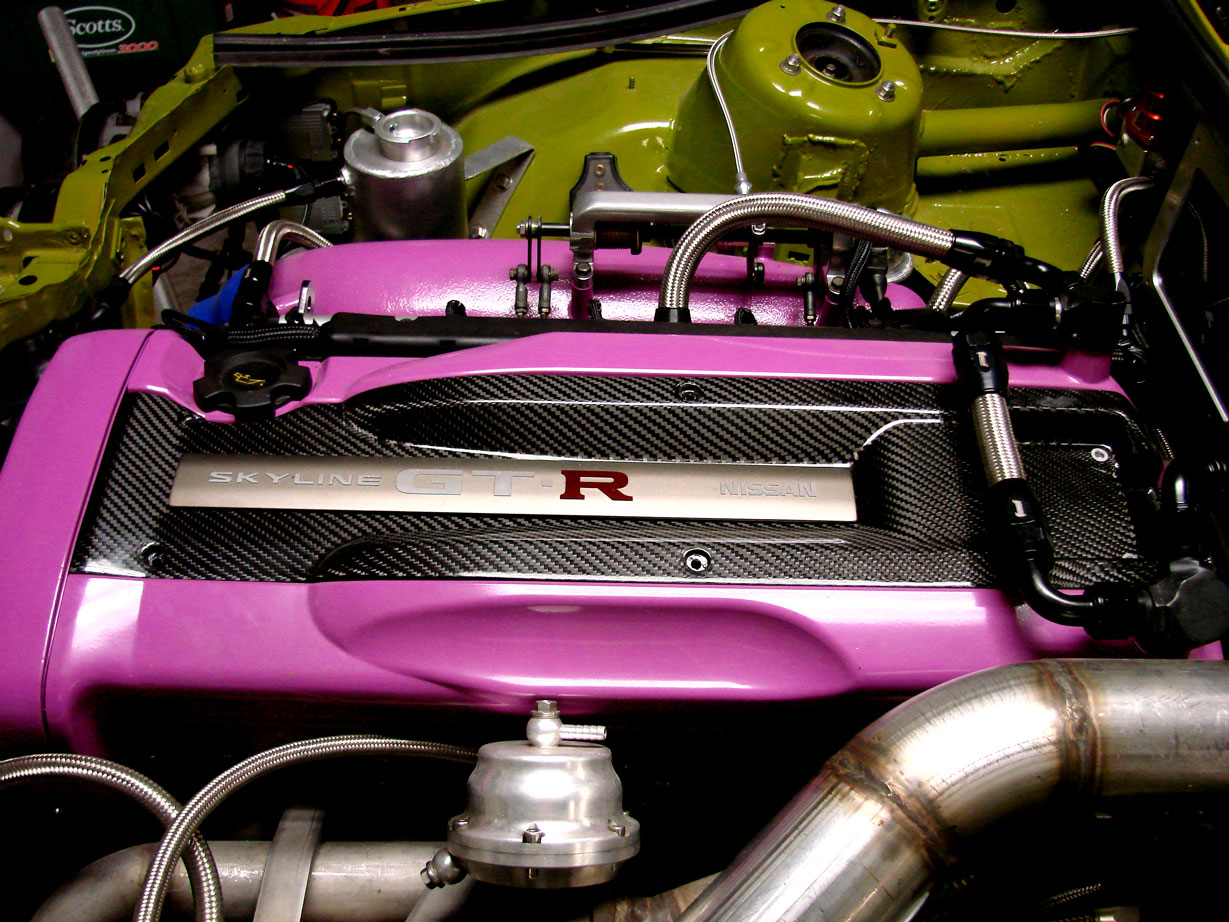
I feel like there are no clomplete pictures of my engine bay, so I took
a bunch (also got a lil clothing in there...)