BACK
NEXT
01/13/07 – Fitting the
engine (for real)
Back
in the shop today.
The next step is mounting the engine and transmission.
Since the
transmission tunnel requires heavy1
modification to allow the transmission to fit, we are first going to
mount the
engine, then the transmission.
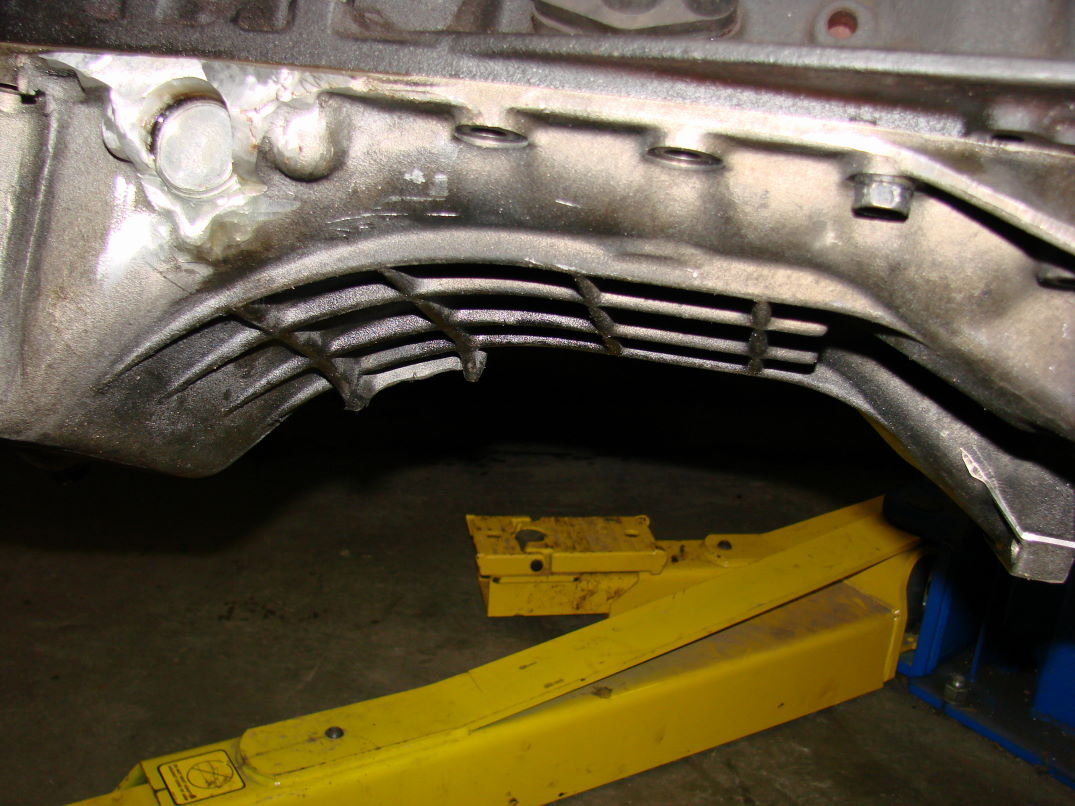
The
major constraining body is the oilpan/crossmember
interface. To be
safe, I decided that a
minimum 3/4" of clearance will suffice. The motor is going to be solid
mounted, so this shouldn't be a problem.
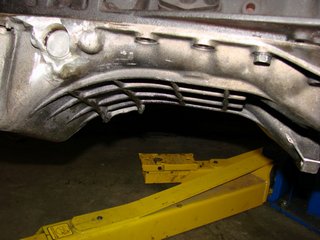
This
is the shape of the oilpan:
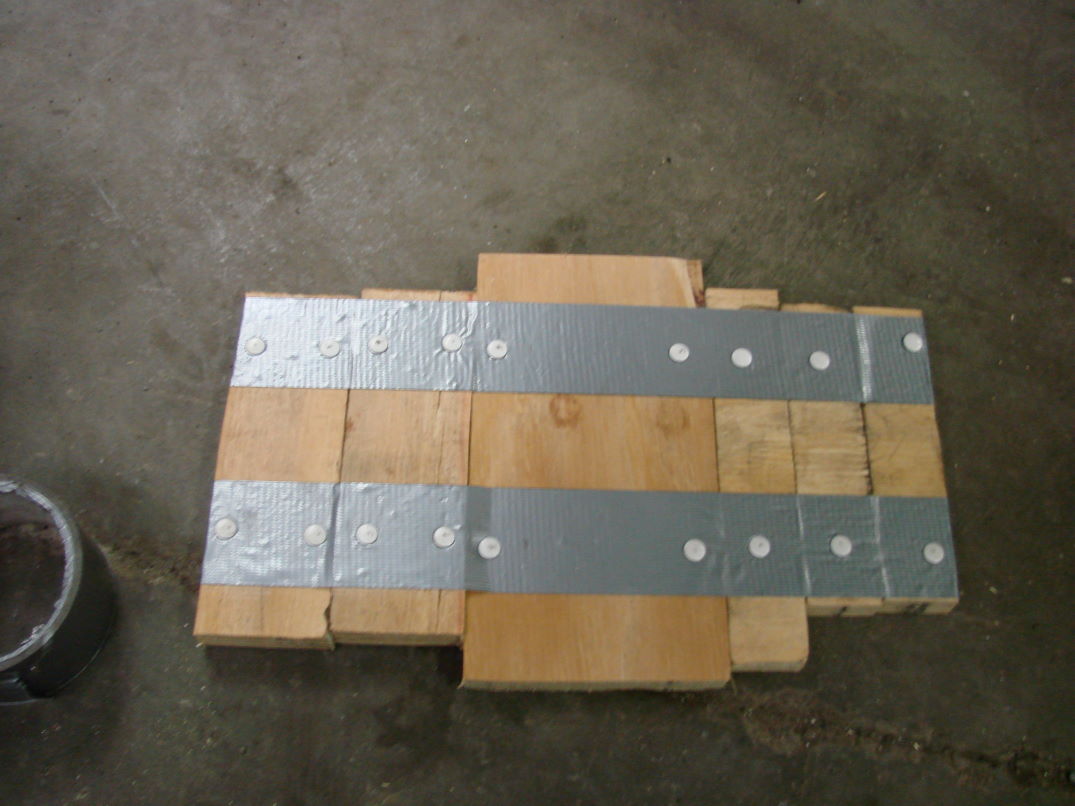
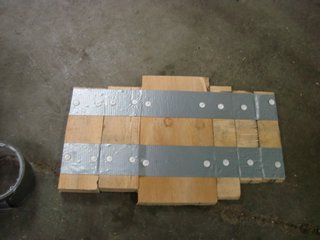
So I
crafted up this shim out of 3/4" plywood2:
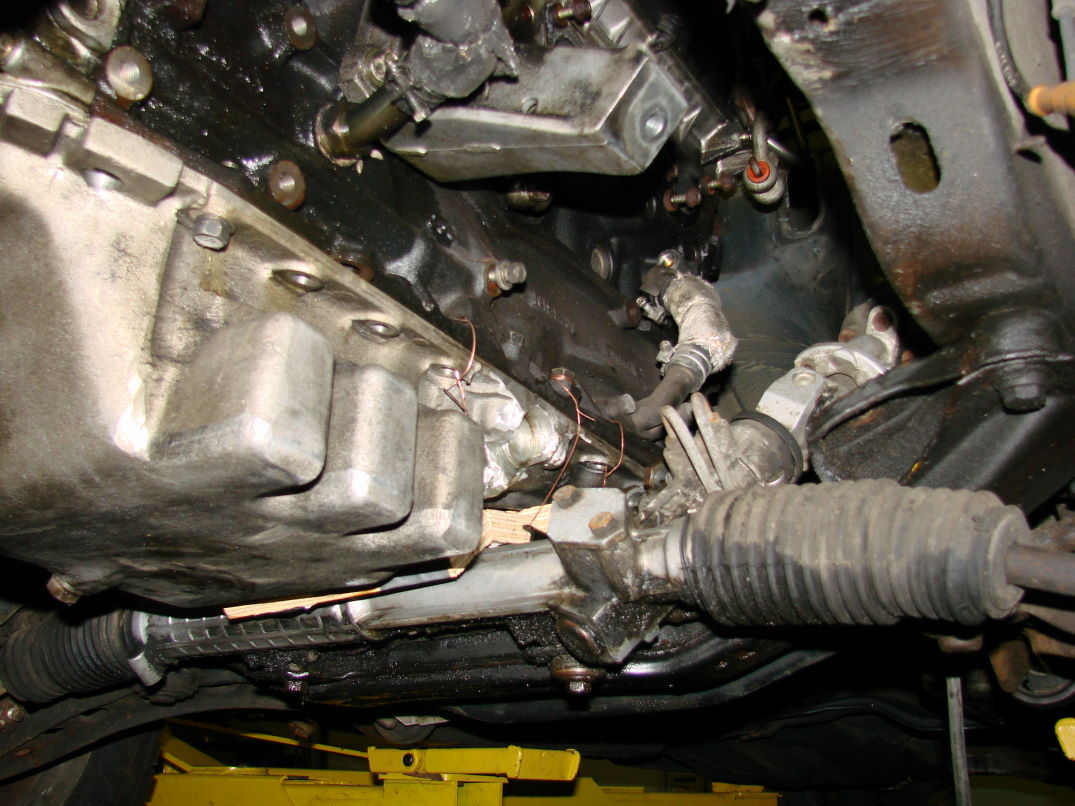
Then
installed it with some mechanic's wire. (OK, I lied, I
couldn't find any mechanic's wire, so I just jogged some welding wire
out of
the MIG):
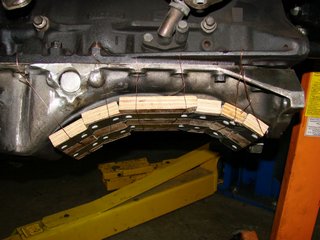
This
shim will allow us to set the motor right onto the
crossmember, design and build the motor mounts, then the shims will be
removed,
allowing for the 3/4" of clearance.
So
we set the motor in the car. We used mike's skyline to
get some preliminary measurements and angles. I was really nervous
about how
the motor would fit, viewed from the rear, but I was quite pleased with
the
result. Some minor shimming and twisting, and I think we have a very
close idea
as to a final motor position. We are going to use something like this:

on
the flywheel mounting flange to perfectly aim the engine
at the rear dif.
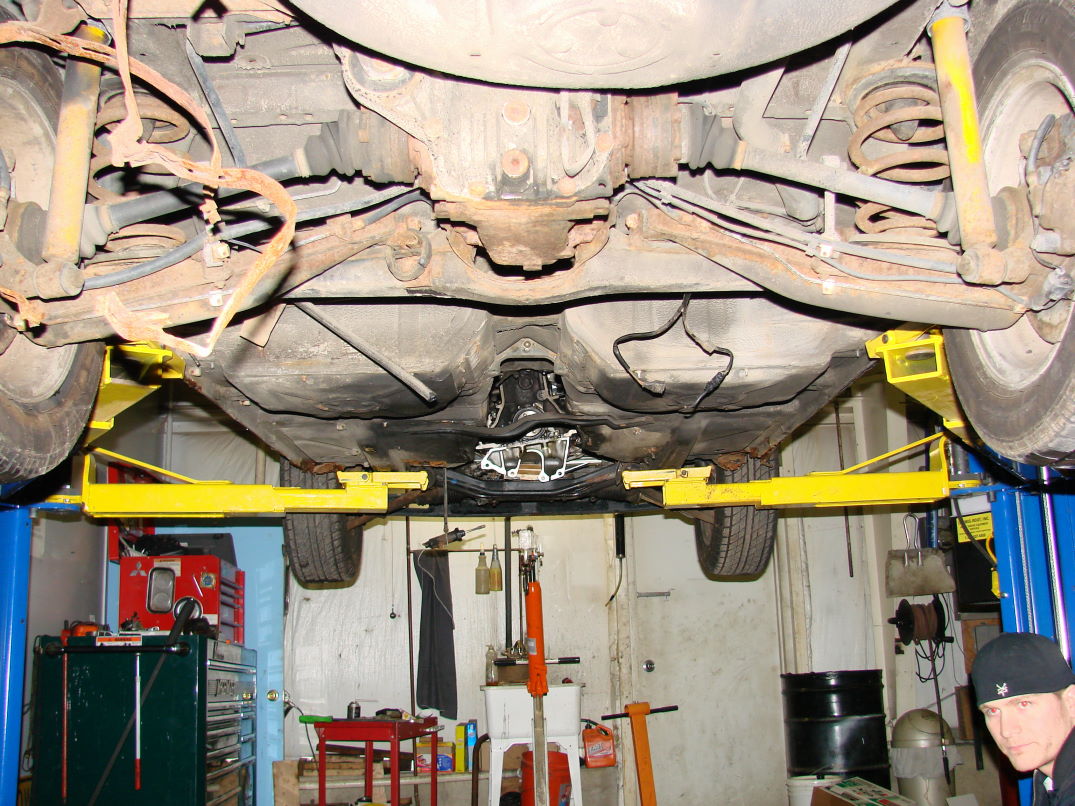
Here
are some pictures of the motor resting in the chassis:
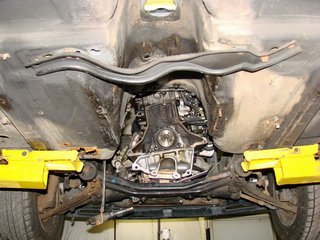
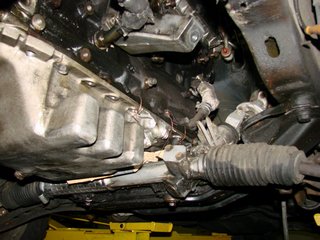

The chassis looks so gross with all of the rust on it. I HATE RUST.
The wood shim worked really, really well.
If I ever do another motor swap project, I
will definitely do something like that again.
I’m really glad that I had 2 skylines in the
shop to be able to measure
things on. Yes, that is turbociv's head in the last picture. :)
BACK
NEXT
(1)
READ:
Totally cut out
(2)
The
shim is made out of plywood, duct tape,
and thumbtacks.