
03/06/07 – Mounting
the Intercooler
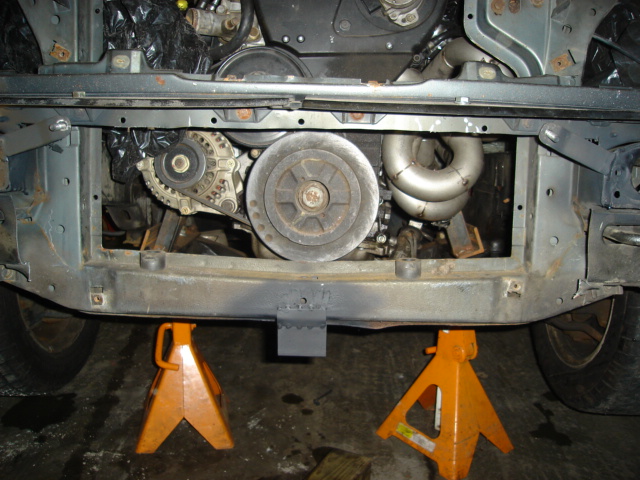
Mounted the IC today, boy is it sturdy. Mounted in 3 locations. Two on the top sides, one on the bottom middle. Simply welded brackets to the frame1 and trimmed down existing brackets welded to the IC from when it was on the 240. You can see the brackets in this picture. Unfortunately, I had to trim a LOT of the bumper mounting brackets... In fact, almost all of them, so now I have to develop a new bumper mounting system2, but I think I have a fairly decent way of doing that... it's just going to take some ingenuity.
The IC also sits very far forward because the radiator needs to reside behind the IC and in front of the stock radiator supports. I used 2X4s on edge (actually 3.5 inches) to simulate the radiator (3" end tanks + 1/2" of clearance). This leaves only about 1/2" of bumper material in front of the IC in spots, so I may need to reinforce that...3
Here are the mounting brackets. They are painted black. There is an angle that goes back at the bottom, and two formed steel brackets on the right and left.
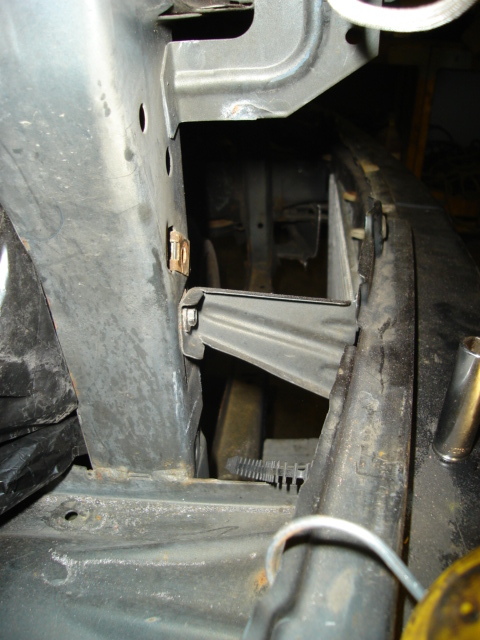
This Aluminum piece had already been welded to the IC, so I made use of it. The hole was off center slightly, but oh well. It bolts to an angle that is welded off the bottom of the radiator support. In this image, you can see the space between the IC and the frame is about 3.5" and will be home to the radiator.

Another shot of where the radiator will sit. Chances are, I will have to run a remote reservoir with a cap on that (like a Subaru), because the radiator sits too low in the chassis4. I may also be able to have the filler neck welded to the radiator on some sort of elbow, to get it out from under the upper radiator support.
Here she is mounted in the car. It's not crooked at all, the picture is just taken oddly...
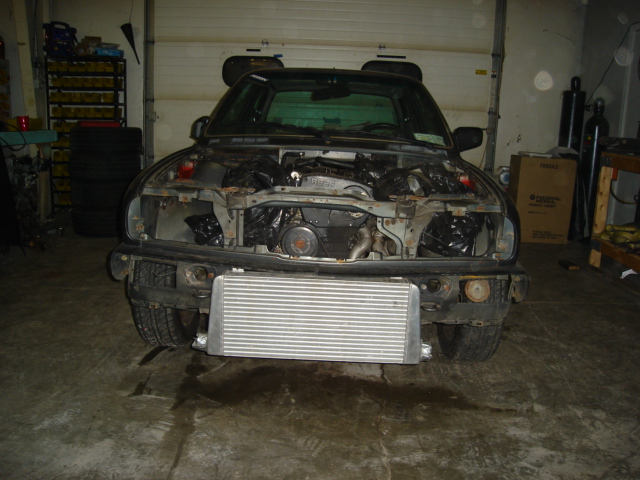
All buttoned up for the evening. It looks like the IC sits WAYYYYYY forward, but what you need to keep in mind is that there is about 3-4" of bumper that goes in front of that... Though I think my bumper tucking idea has been significantly decreased...
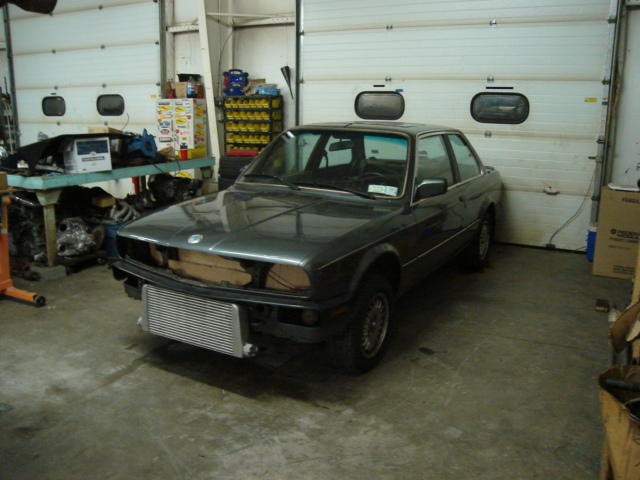
Between the blasting and removing/reinstalling the IC over and over, the tabs got pretty beat up, so I cut them off and made a bolt on bracket. The new brackets still aren’t that great. I might make ANOTHER revision. I wish I had a picture with the original valence mounted over the intercooler. It looked pretty mean, but the actual aluminum bumper looks so lousy.
(1) Later, I cut these off and made bolt on brackets out of stainless. I actually had to bend them out of the way to get the radiator in and out, which seemed too ghetto.
(2)
This
problem went away with the
eurobumpers/Mtech1
(3)
This
problem also went away with the
eurobumpers/Mtech1
(4) This is true. The filler neck/pressure cap has to be the highest point in the cooling system to allow air to bleed out. I still need to make this reservoir.
