
01/25/07 –
Transmission Modifications
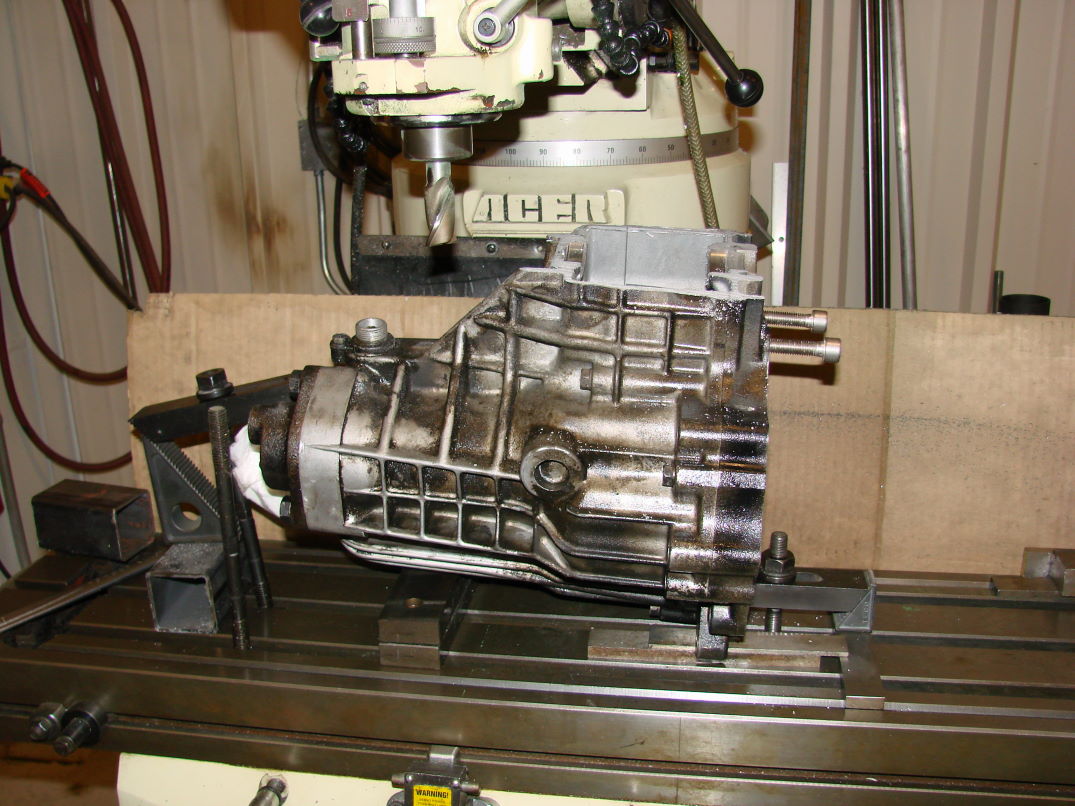
First I added another brace to the cross member. This
triangulates the subframe and I am convinced it is now strong enough.
My
welding leaves much to be desired1...
I need to work on this much more...
Next, pulled the transmission back
out of the car and
unbolted the transfer case. I took everything out of it. This is what
was left.
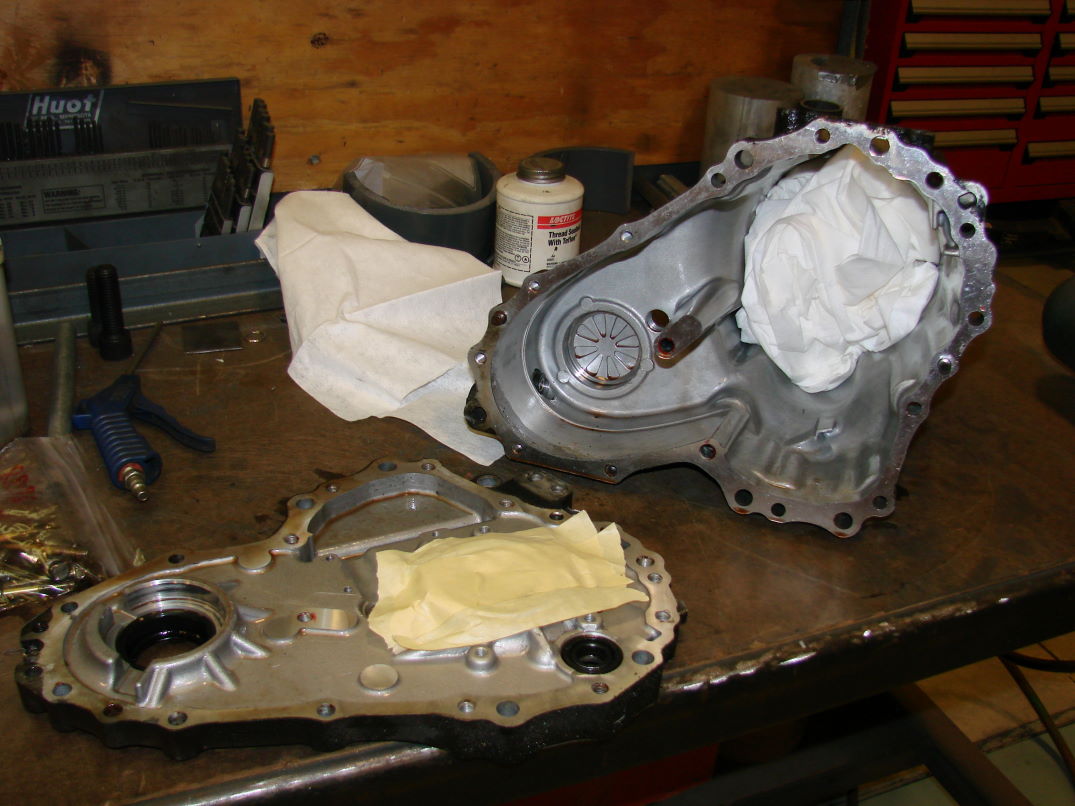
Then I went home.
Went to the shop after work. I taped
off the bearings to
avoid contamination2
and
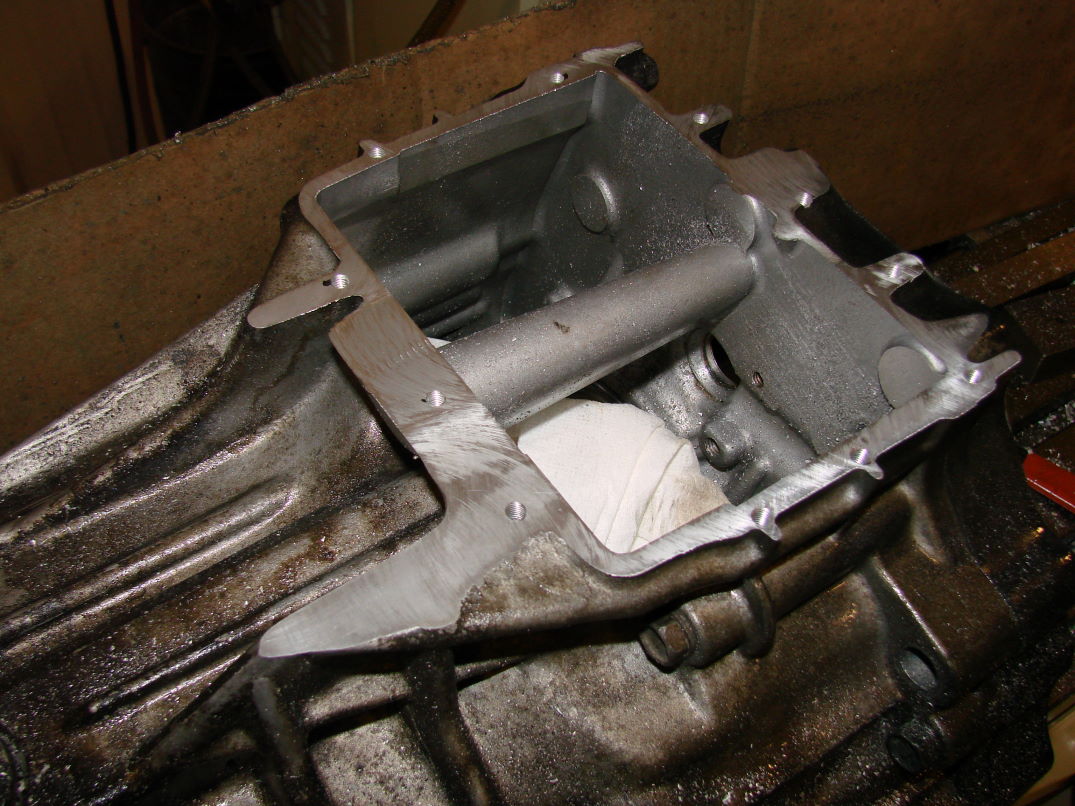
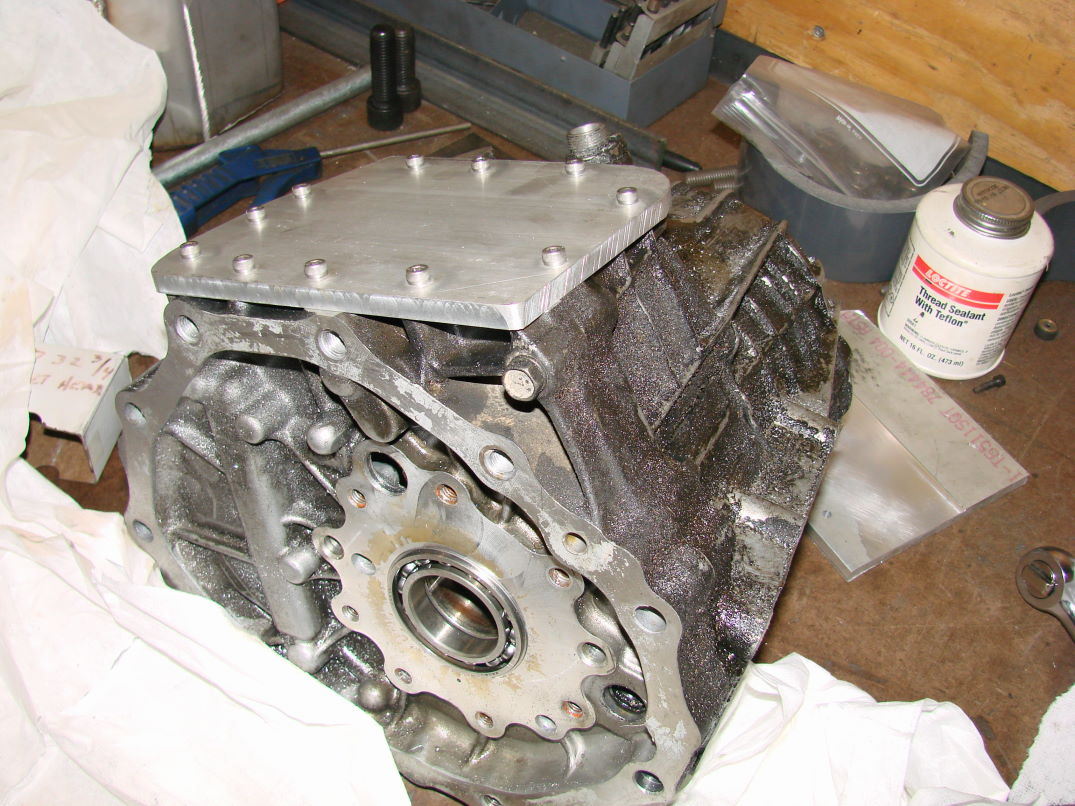
bolted the gutted transfer case back together. I then used the
horizontal band
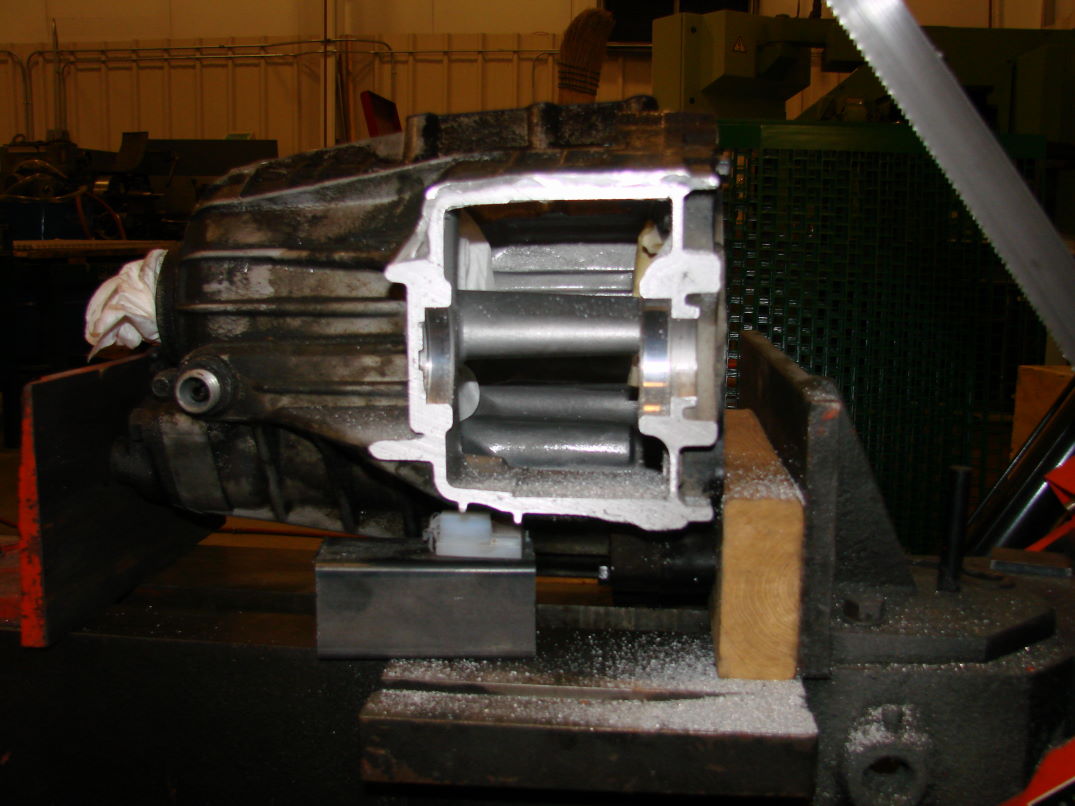
saw and cut the output case off of the transfer case.
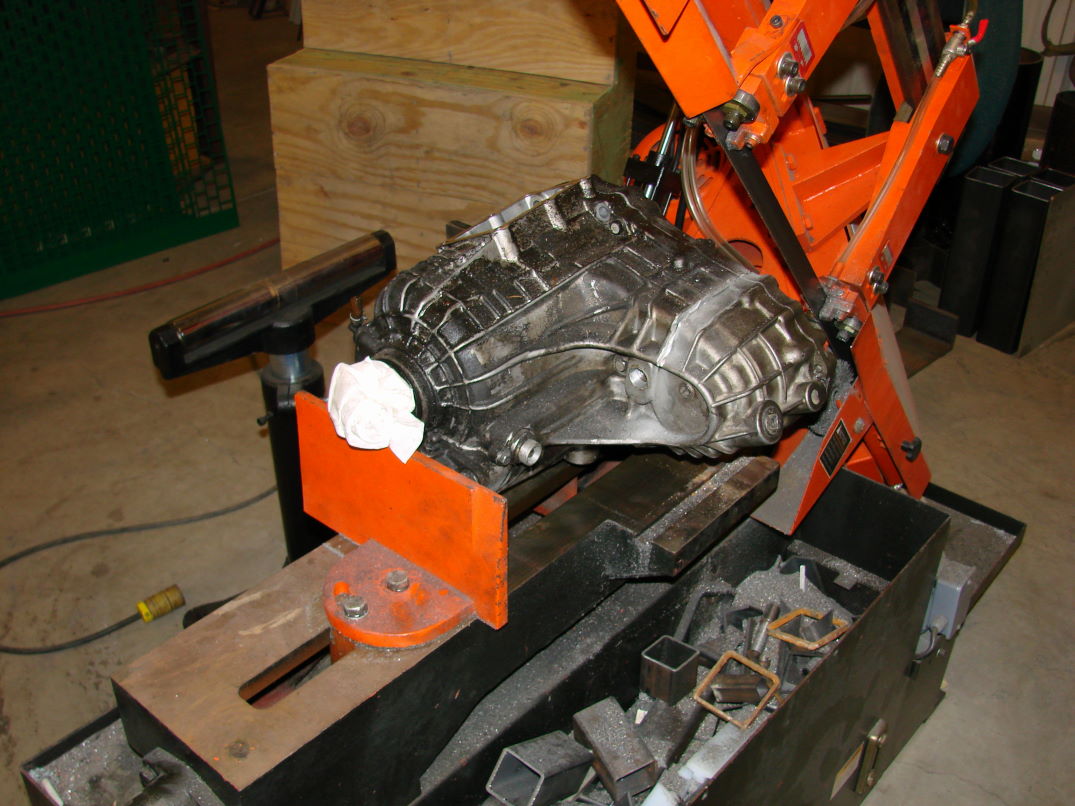
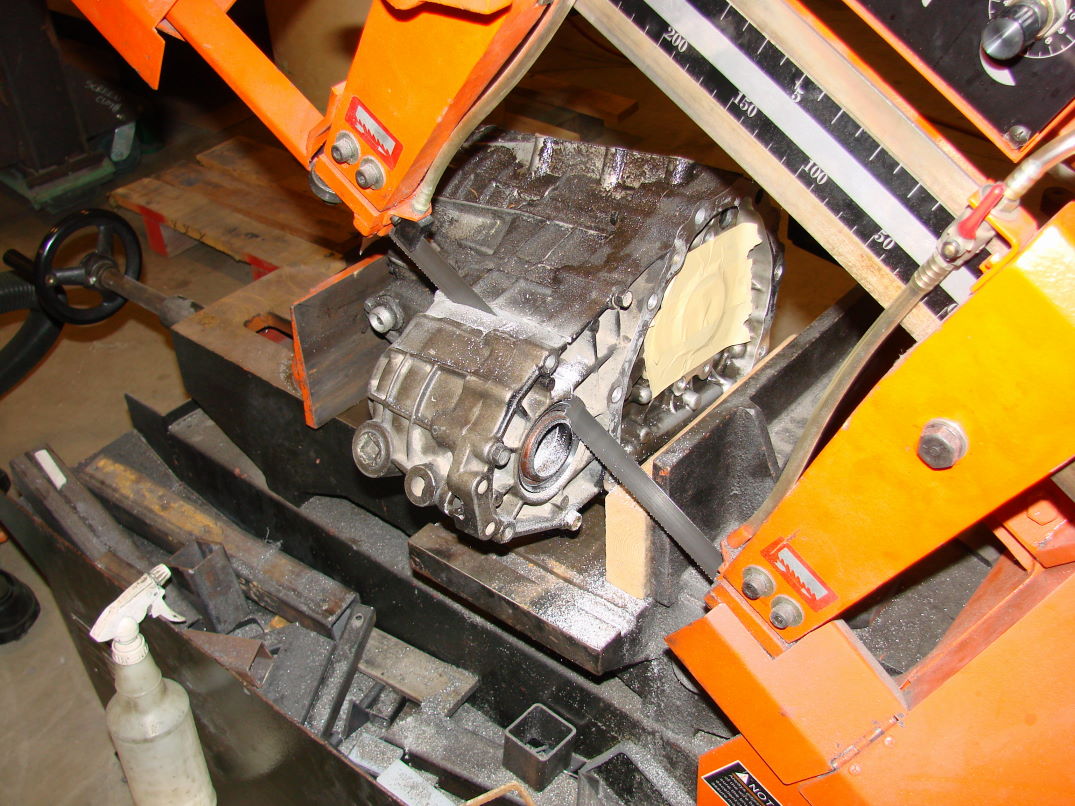
This step went remarkably smoothly3. The result:
Next I mounted the transfer case on
the milling table I was
only able to get 2 mounting points, one of which was a bit "shady"
but I hit it with a rubber mallet after I bolted it down, and it didn't
budge.
The tool in the mill is not the tool I used (I used a 2.5 inch facing
tool) I
used a level and shims to get the case mounted correctly. The location
of the
face didn't need to be that precise, so a level was fine:
Next, I made pass after pass on the
part, taking off about
.100 per pass. About an hour later I had a flat surface, about an inch
shorter
than the above picture. (sorry, no pic)
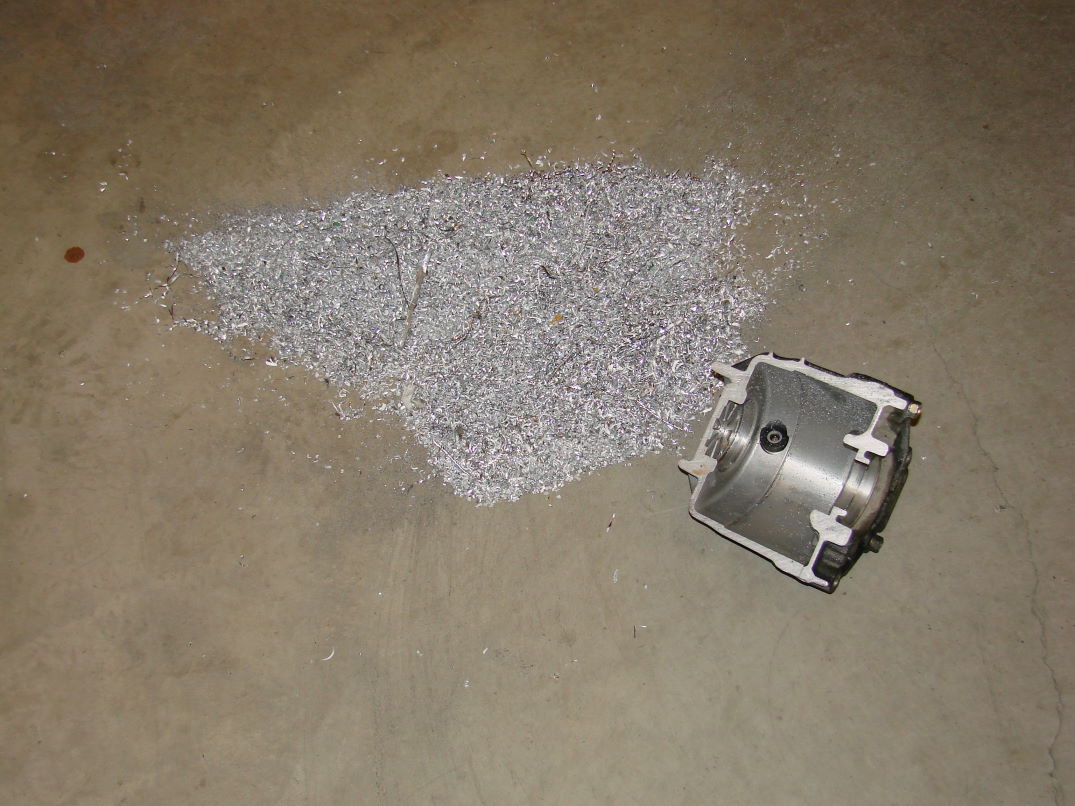
At some point during this, the tape
over the bearings gave
way and a lot of aluminum chips made their way into the front bearing.
I will
try my best to get them out of there with a parts washer/ air gun, but
I may
need to suck it up and buy a new bearing.4
Meh, live and learn. I
should have taken
it out first, instead of trying to take the easy way out and "cover"
it.
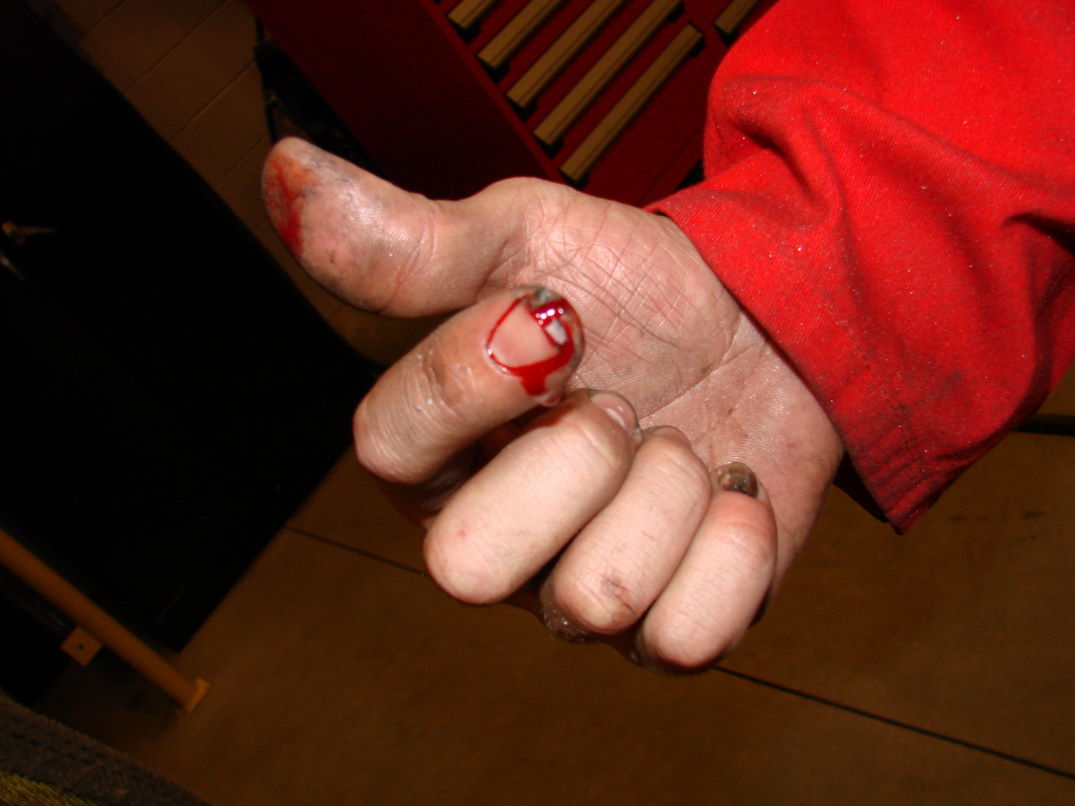
Also at some point during this, I
somehow managed to crush
my hand between the work piece and the tooling. I had to pick bits of
fingernail off the tooling. EW.
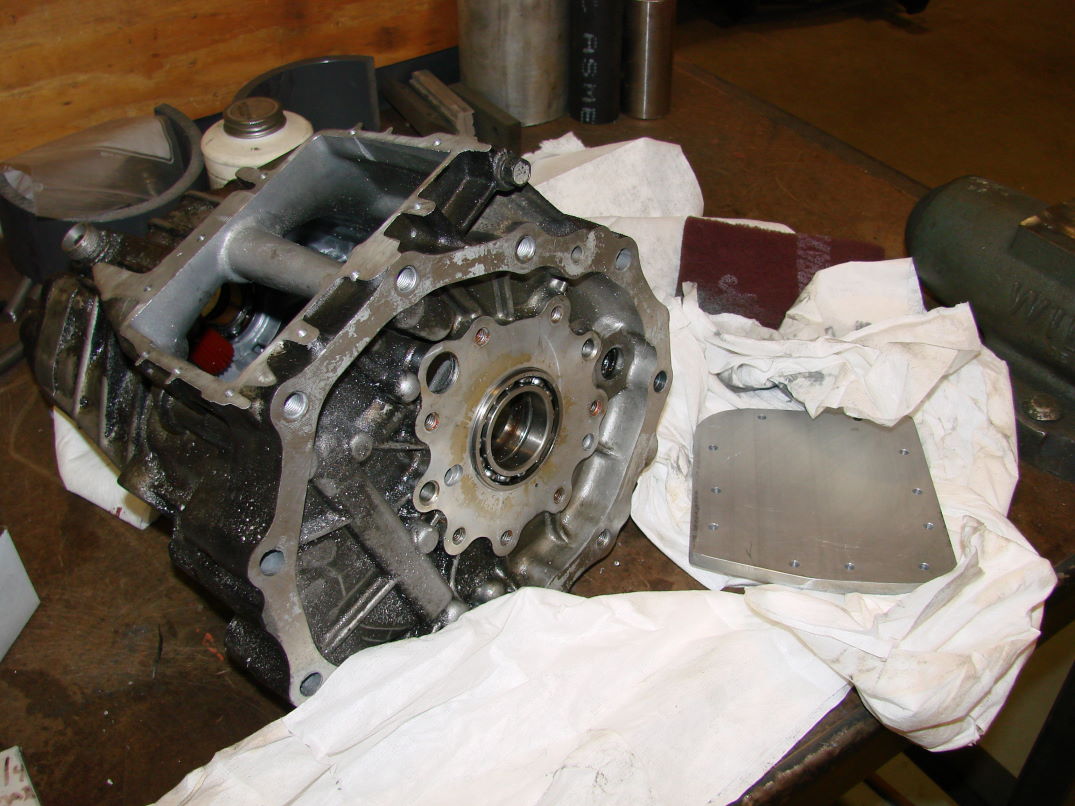
Now that the face was complete, I
chucked up a drill and
drilled (11) #21 holes X .9 deep along the perimeter of the face. Then
using a
hand tap, I tapped the holes to 10-32 thread. A hand tap was a bad
idea; I
should have used the mill to guide the tap, as one of the bolts went in
slightly crooked, not a big deal, though. It is not terribly off. The
hole that
looks like it is "falling off" is intentionally placed there, as it
was necessary to avoid an internal bolt.
All that was left was too make a
cover. Since I had written
down the X,Y locations of all the holes I had drilled in the case, it
was
relatively easy. I used a belt sander and the mill to make the outside
perimeter, then after the holes and perimeter were complete, I made a
few
facing passes on the mating surface of the cover. Due to the fact that
the
cover was no longer in square, there was a tiny bit of chatter on the
final
face, but nothing that wont be sealed with RTV or hondabond.
The finished cover and assembly:

Total time = 6 or 7 hours.
Dollar amount saved (vs. buying rb25
transmission) = $1500
Weight difference = negligible
Now I just need to put it back
together. Oh, I also plan on
drilling a tapping a few holes on the cut-off portion of the transfer
case,
then using a torque wrench to find out at what torque the threads
strip, this
will allow me to get a torque value to tighten the hardware to.
I will leave you with this picture:
This was one of the cooler parts of the project to date, because something looked better/cooler than it did when I started. A lot of the other parts of the project were unfinished/dirty/uninteresting. Hopefully this holds up to the abuse!
(1) I’ve since become a much better welder…
(2) Bad move
(3) Even though I cut through the hardened steel race…
(4) I was able to get the bearing fairly clean.
